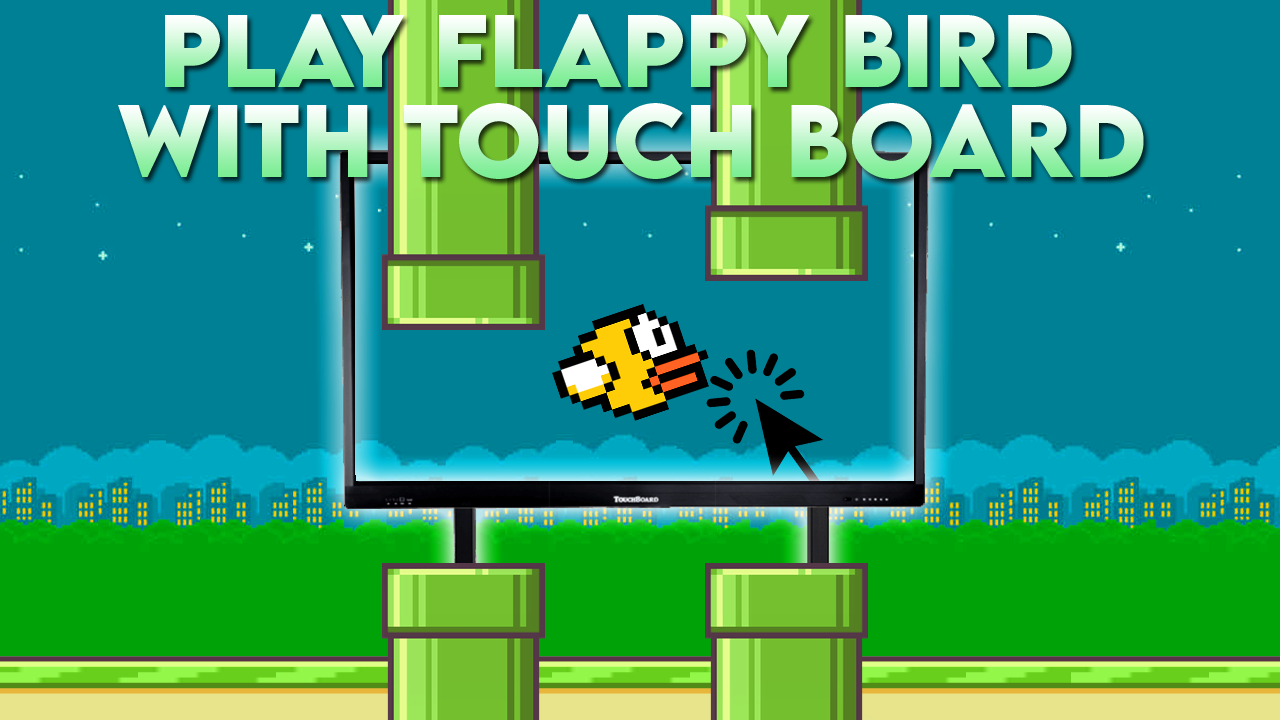
How Flappy Bird stunned smartphone gamers and then was taken off the shelves? Flappy Bird is back, and you can use the Touch Board to direct the bird this time. This game is easy to set up and play; all you need is the Touch Board, Adafruit’s NeoPixel shield, Electric Paint, and tech know-how. It’s even possible to add sound to your game!
Step 1: Materials
To Start, You’ll Need:
- 1x Touch Board
- 1x Adafruit NeoPixel shield
- 1x set of male and female headers
- Soldering equipment
- Electric Paint
- Crocodile clips
- Paper
- Scalpel
- Hook-up wire
Step 2: Get The Touch Board Ready
Make sure your Touch Board is ready before you start this lesson. If necessary, please go over this lesson again. Now, you can shift on to Step 2 if you have!
Step 3: Soldering the Headers Into the NeoPixel Shield and Touch Board
Connect the headers to the Touch Board and NeoPixel screen with your soldering iron. Each part has four headers: two 8-pin headers, one 10-pin header, and one 6-pin header. The right picture shows where every banner goes.
If this is your first time soldering or working with Arduino shields, check out this tremendous Sparkfun lesson. When you’re done soldering the pins, connect the NeoPixel shield to the Touch Board, as in the bottom right picture.
Step 4: Uploading The Code
Use the USB cord to connect the Touch Board to your computer and turn it on. Go to File, Sketchbook, Touch Board Examples, and finally, flappy_bird to open the Arduino IDE and the code. After that, you need to put the NeoPixel code in place. Find “Adafruit NeoPixel” in Sketch, Include Library, and then Manage Libraries.
Just pick it out and click Install. Next, choose the following settings in the IDE to get the code to the Touch Board:
- Bare Conductive Touch Board” under Tools→Board
- Bare Conductive Touch Board” under Tools→Port
- At last, click “Upload!”
Step 5: Go For It!
Now you can play. Here’s what the keys are:
- E0 – Start or restart the game.
- E11 – Move the Bird.
- E2 – Increase Volume
- E3 – Reduce volume
- E5 – Enhance brightness
- E6 – Decrease brightness
This game is based on Flappy Bird, a popular cell phone game. To begin the game, touch electrode 0. The goal is to get the bird (a yellow LED) through the holes in the pipes (a green LED). This game is based on proximity sensing, so you move the bird by getting close to electrode 11.
The pipes toward the bird will speed up after the first few wins. The game ends when you hit the pipe, and your score is shown. Just touch electrode 0 again to play again. Moving the bird by just getting close to wire 11 takes work. That’s why we need to make a sensor!
Step 6: Paint The Sensor
You can use any monitor for this game! This picture guide will show you what items you can use to manage the game. Electric Paint could also be used to make your device. When you use Electric Paint to make a proximity sensor, there are some rules you should follow. There is a guide for proximity devices here.
We made one you can download because we want to help you make a controller. The restart button is easy to get to on our game controller. You could also create your monitor! Print the downloaded file and use Electric Paint to follow the black lines to use our picture.
Step 7: Attach The Sensor
You can connect your Touch Board to your monitor after the paint is dry. Either crocodile clips or cold gluing are the two ways we suggest. To use crocodile clips, you must first cut the paper so the controller’s wires are on the Hole’s edge. Then, connect one end to the monitor and the other to the Touch Board while the Touch Board is off.
It is important to remember that the crocodile clip wire attached to electrode 11 is also a sensor. If you touch the cable, the bird will move. The crocodile clips can also stop working if the wires touch, so make sure the cables are not touching. You can also cold-solder the board to the sensor instead. Check out the guide if you’ve never cold-soldered before.
Step 8: Launch The Game!
To use it again turn it back on and move your hand back and forth over the sensor. It should be simple to move the bird up and down. The Touch Board may be too sensitive or insufficient for you to move it. You can change the value of the variable filterWeight in this case. You can change the numbers until they work better for you. Read the Hole in the Wall lesson through step 10 to add sounds to the game.